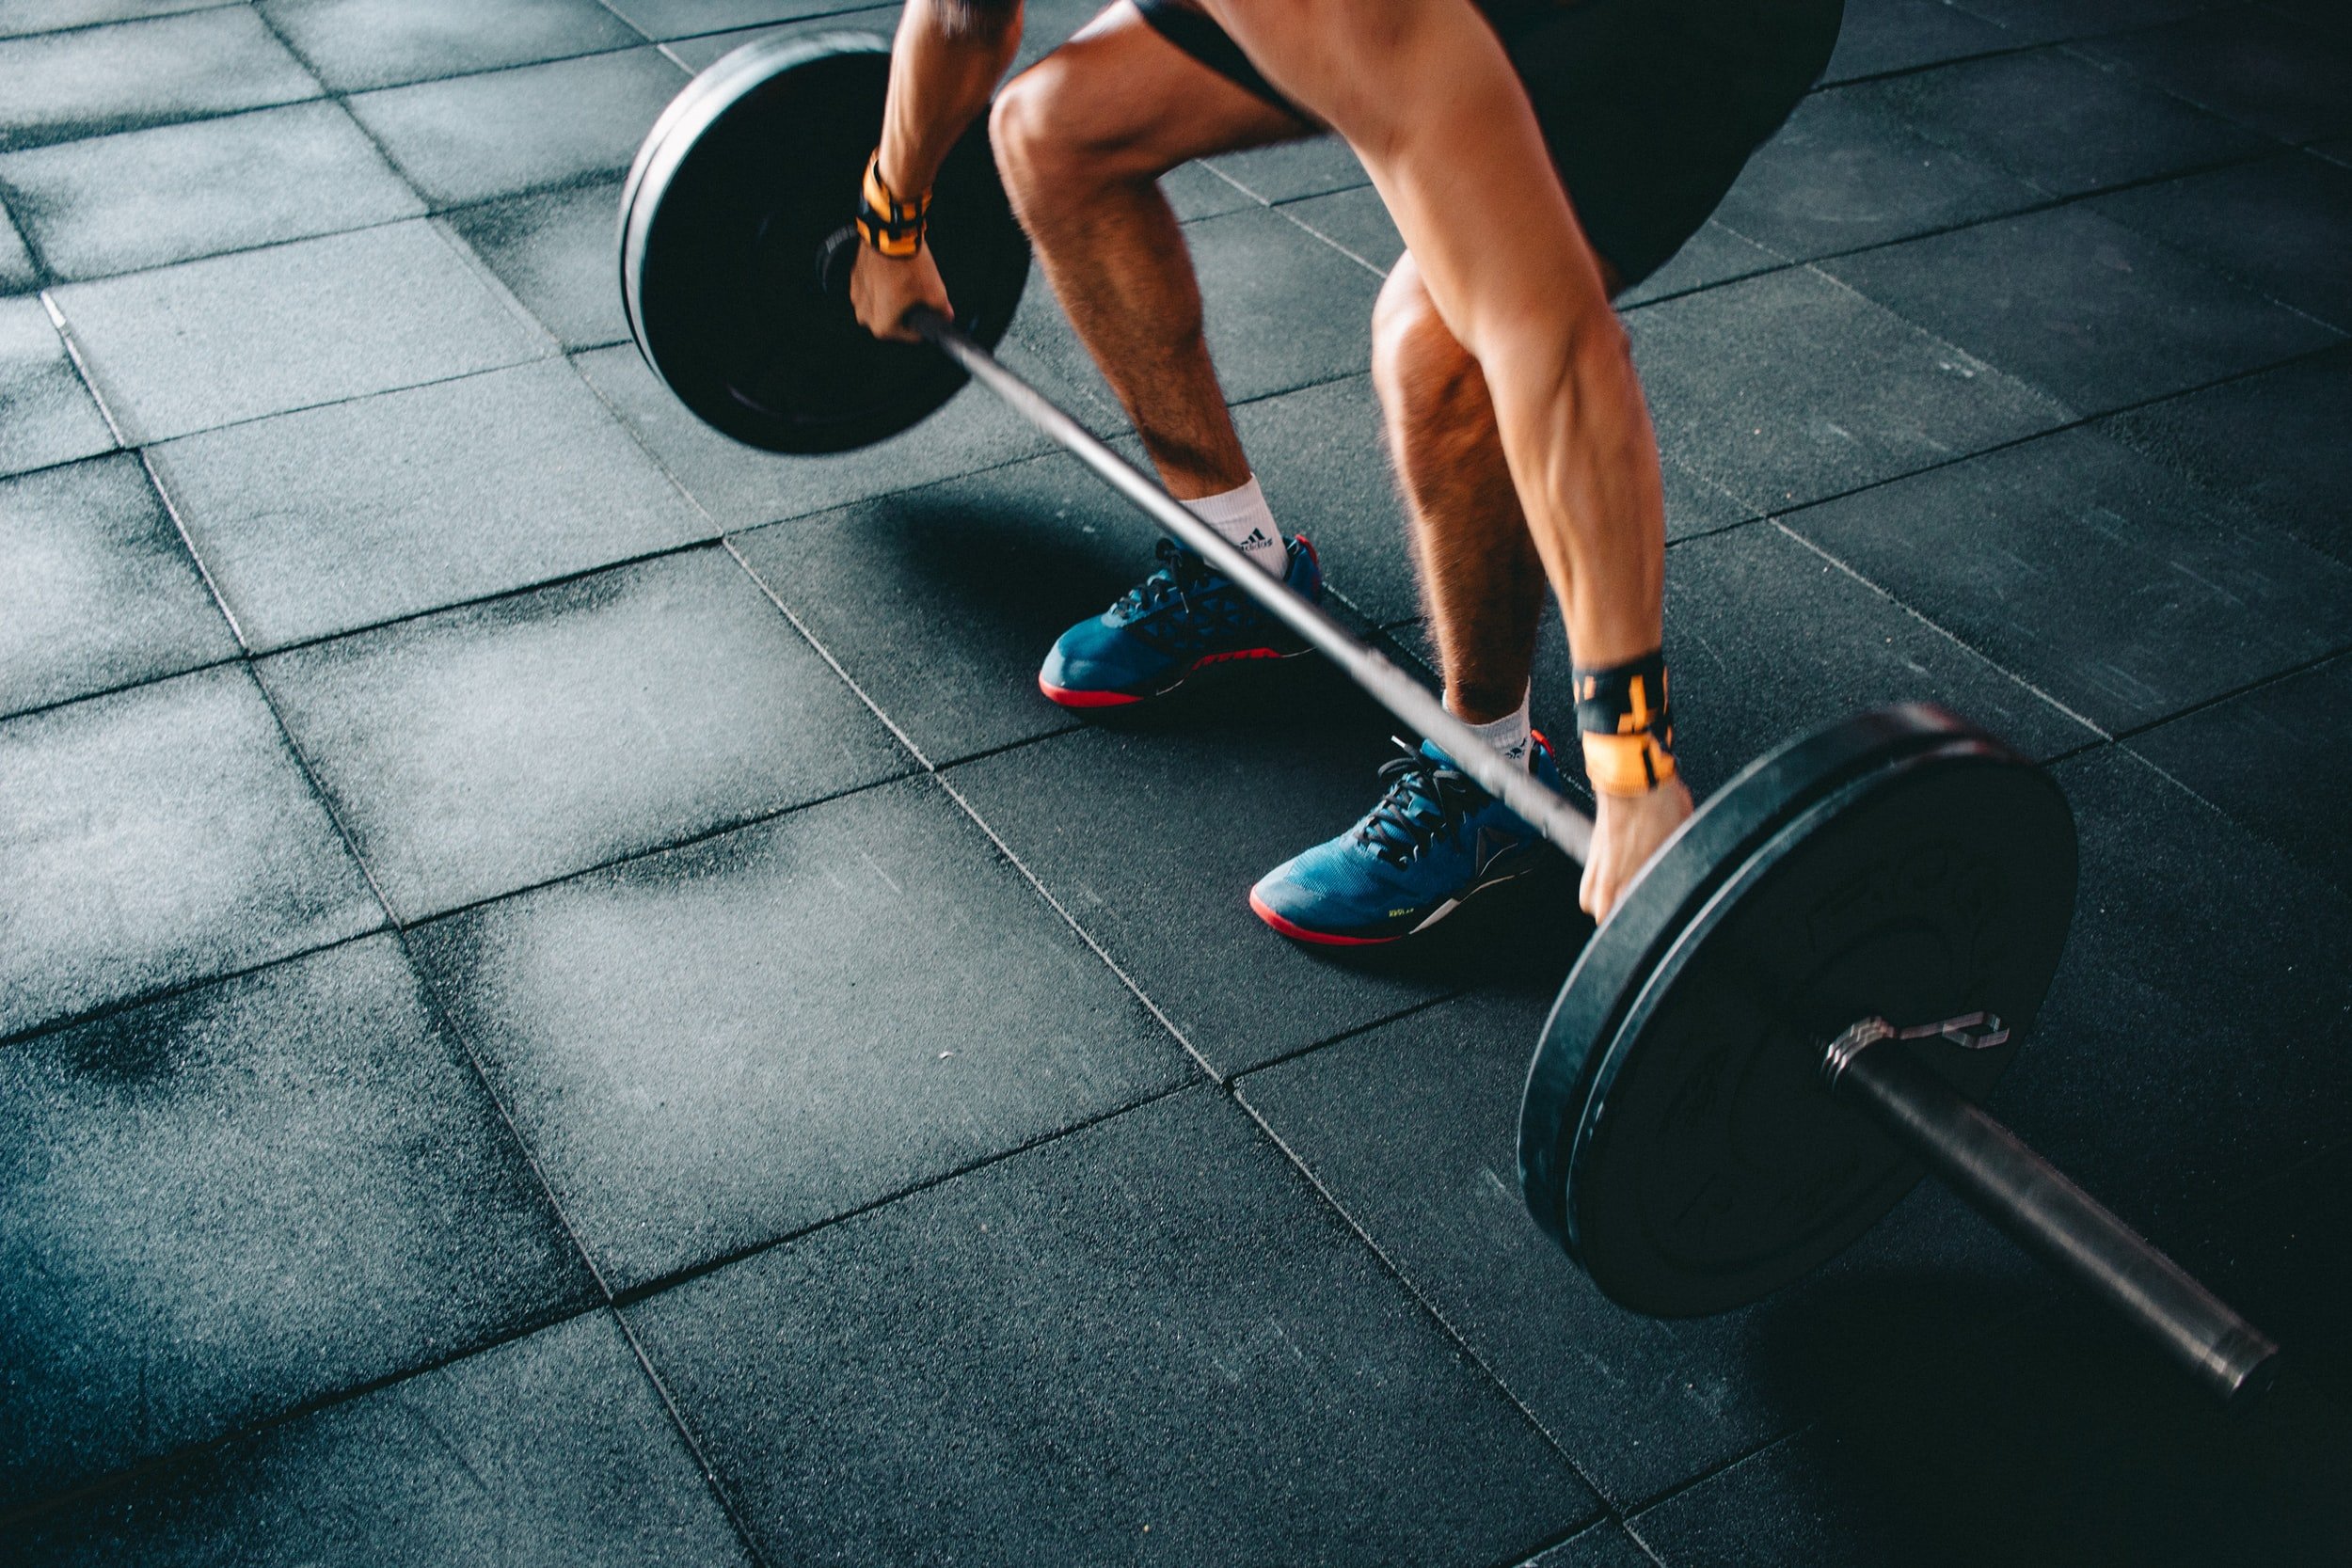
ROMANIAN DEADLIFTS
There are many variations of the deadlift, but the Romanian Deadlift (RDL) or Hip Hinge are the two most common variations.
The main difference between a traditional deadlift and RDL is the starting position: traditional deadlifts start with the weight on the floor (hence, lifting deadweight from the floor), and RDL’s start in a standing position. While both exercises target the posterior chain muscles (otherwise known as your “backside”) including your glutes, hamstrings, low back, and core muscles, a traditional deadlift focus more on quadricep activation (top of leg) while the RDL allows for greater glute (booty) and hamstring (back of legs) activation.
As mentioned in the deadlift blog, both exercises are not just performed when exercising / inside a gym. Without even realizing, you are doing deadlifts and RDL’s in everyday life. Simple, daily tasks like sitting down and standing up, picking up the laundry basket from the floor, lifting up your toddler, and grabbing bags of groceries are all examples of how you engage these muscles and perform variations of this movement pattern.
Another reason all variations of deadlifts are important? As a society, our posterior chain muscles tend to be weaker because of excessive hours spent sedentary: sitting at a desk, increased time behind the wheel driving, endless scrolling on our phones, binging Netflix – the list goes on. Over time, the lack of activity (both daily movement and exercise) leads to poor posture and weakened muscles along your backside.
Just like the deadlift, the RDL is a compound exercise working multiple joints and muscle groups simultaneously. For this reason, RDL’s deliver a full body exercise, so you can get more work done in less time. If you aren’t (yet) performing RDL’s in your regular exercise programs, this movement pattern is something you definitely want to add!
Though a seemingly simple movement pattern, it’s harder to master compared to the traditional deadlift, especially for those with tight hamstrings or cranky low backs. The RDL is referred to as the Hip Hinge because movement is initiated at the hips and requires little knee involvement or bending. To help you visualize what this exercise looks like, imagine trying to close your car door with arms full of groceries. You simply thrust your hips back while standing in front of your car door. You do not bend at your knees much but stick your hips and but back as your chest slightly comes forward. See?! You’ve been RDLing and didn’t even know it!
It’s time to learn the proper way to perform an RDL or Hip Hinge scaled to your fitness level to effectively build strength, enhance basic, daily movement patterns and live injury free in both life and when exercising. This blog is teaching you:
-
5 Reasons to Master the RDL
-
5 Common Mistakes to Avoid
-
Step by Step Guide to Get Started
5 REASONS TO MASTER THE RDL
-
Increases Posterior Chain Strength: The RDL targets all the back body muscles necessary for not only improving your posture, but increasing strength, speed, power and explosiveness.
-
Builds Total Body Strength: The RDL incorporates more muscle use than any other exercise by recruiting both upper and lower body engagement PLUS, all those back muscles. This delivers a TON of bang for your exercise buck and a highly effective, total body workout for enhancing overall strength.
-
Torches Fat, Burns Calories & Builds Muscle: Performing an RDL incorporates TONS of muscle groups and requires a lot of energy thereby torching fat and building larger muscles in the process. End results? The ability to burn MORE fat (the more muscle you have, the more fat your body burns) PLUS, MORE calories burned not just during your workout, but for hours after.
-
Reduces Risk of Injury: Maintaining an upright posture requires both strong back and core muscles. Because RDLs strengthen both, it’s an essential exercise for building spinal stability while decreasing risk of injury to the low back. Having strong core and back muscles means you are less likely to strain, hurt or injury these muscles during activities that require carrying heavy loads in the front of your body: carrying your child/grandchild, bags of groceries or your (beer) cooler to the beach.
-
Promotes Hip and Joint Health: If your muscles, joints, ligaments and tendons are healthy and strong, you can perform day to day tasks pain free and with ease! The RDL enhances your hip and joint health so as you grow older and wiser, you aren’t limited or bothered by pesky hip pain – yay!
6 MISTAKES TO AVOID
Like most exercises, performing a proper RDL takes patience and time. Having a personal trainer/coach to ensure you are performing your RDL without making these common mistakes is beneficial for you and your body in the long run.
Always start off performing an RDL using a weight appropriate for YOU. Remember, it’s less about the weight and more about mastering the movement. This could mean starting off with bodyweight to perfect the hip hinge first, followed by incorporating kettlebells, dumbbells or a barbell. Remember, adding weight to a dysfunctional movement pattern before learning how to properly execute it, you can/will get hurt. Here are some common mistakes to avoid:
-
Shoulder Shrugging/Rounding: As you RDL, it’s crucial to maintain a neutral spine by keeping your shoulder, head and neck perfectly aligned. Shrugging your shoulders up towards your ears and / or letting your shoulders round forward like when you’re hunched over your phone increases pressure on your upper back and spine. Although this is commonly done unconsciously, maintain proper upper body posture and alignment is the first step for mastering the RDL.
-
Knee Placement: Bending your knees during an RDL makes it a traditional deadlift / squat, NOT an RDL. Because squatting feels more natural then hinging at the hips, it’s easy to understand why this is a common mistake. To reap the full benefits of strong glutes and hamstrings, perfect your hip hinge by learning the concept of pushing your hips back first and placing the focus on your hamstrings.
-
Knees Collapsing: When performing an RDL, be mindful of your knees. Are the knees collapsing /caving in towards each other? If so, think about pushing the knees out as you drive/push your hips back. This will immediately help fire up your glutes to reap the full benefits of this glorious movement!
-
Weight Placement: A common mistake is letting the weights drift away from your body as you hinge back and return to a tall, standing position. Letting the weights drift away from your body will cause you to arch / round your back and place unnecessary strain on your low back. This will not feel good and in time, lead to injury.
If using two kettlebells or dumbbells, keep both weights at the sides of your body as you hinge back and return to a standing position. If using a single weight or barbell, think about dragging the barbell up your shins and thighs while bending the bar as your hinge back and return to a standing position. Keeping the weight close to your legs as you hinge will target the legs and hamstrings.
-
Poor Head Placement: Looking up during your RDL causes your low back to arch excessively which will not feel very good and can casue injury. Keeping your gaze slightly out in front of you with your chin tucked keeps your spine neutral as you hinge back.
-
Chest Falls Forward: When driving the hips back, a common reaction is letting the chest fall forward. During an RDL, maintain an open, forward-facing chest to again, prevent the back from rounding.
STEPS TO GET STARTED
Now that you know the amazing benefits of the RDL as a full body exercise that is as functional when exercising as it is in the real world, how can you get started? Here is a step-by-step process:
-
Work with a Coach: Since the RDL is not the easiest to master, it is important to proceed with caution when first starting. Working with a coach/personal trainer who understands your movement patterns, fitness level and injury status means you will master the perfect RDL injury free! Based on your fitness level and experience, this may mean involve just bodyweight or, starting with some form of resistance – one kettlebell, two kettlebells, two dumbbells, or a barbell.
-
Warmup: Perform a dynamic warmup that activates the glutes, hamstrings, upper/lower back, hip flexors, and hips. Ensuring these muscles are ready are fired up and ready prevents injury. Warmup examples include good mornings, a single or double leg glute bridge, cat/camel, bird dog, bodyweight squats or infant squats.
-
Feet Placement: Stand tall with your feet roughly hip distance apart.
-
Weight Placement: Option to use bodyweight or, add kettlebells, dumbbells or a barbell.
-
If using two kettlebells or dumbbells, hold one weight in each hand at the sides of your body.
-
If using 1 kettlebell, dumbbell or barbell, use both hands to hold the weight in front of your body.
-
-
The Hinge: Though you are not bending at the knees, maintain a slight bend to prevent knees from locking (ouch, that will hurt!).
-
To begin, start with soft knees (a slight bend) and pulling your shoulder blades back toward your spine (think of having the most perfect posture!). Maintain this posture throughout the whole movement pattern.
-
Initiating from your hips, think about pushing/ driving your hips back (envision there is a wall and you’re trying to touch your butt to the wall).
-
As you drive back, push your knees out by shifting weight to the outside of your feet.
-
Let your torso become parallel with the floor so your hips are positioned at 90 degrees.
-
Keep your chest upright, forward-facing, and over your toes to keep a neutral spine.
-
If using two weights, keep your arms straight and weights at the sides of your body. Lower to knee height or, slightly below depending on hamstring flexibility.
-
If using one kettlebell, keep your arms straight and the weight in front of your body. Lower to knee height or, slightly below depending on hamstring flexibility.
-
If using a barbell, keep your arms straight and the weight in front of your body. As you hinge back, drag the barbell up your shins and thighs (think about “bending the barbell” to keep it near your body). Lower to knee height or, slightly below depending on hamstring flexibility.
-
Once the torso becomes parallel with the floor, pause for 1-2 seconds to activate your glutes and hamstrings. You should NOT feel this in your low back!
-
-
Get Full Range of Motion:
-
Return back to a standing position, squeezing your glutes (butt) as your hips come forward.
-
Finish in a tall stance with knees straight and weights at your sides or, in front of your body.
-
Avoid finishing with hips too far forward, causing your back to arch.
-
If you have questions about how to RDL, how to RDL with existing injury, knee or back pain or just want to understand more about this movement, click the button now to schedule your free Strategy Session with an RF Coach!

Keep living healthy, happy + strong!