Do you wake up feeling stiff?
Are your hips tight when you get out of bed?
Does your back ache when you bend down to put on slippers?
Have you been exercising regularly—showing up, pushing yourself—and dealing with constant soreness that never goes away?
Here’s the thing:
Whether you’re a Results Fitness Warrior or just trying to move more and feel better, your body is talking to you.
And like most people, you probably ignore it…
until it slows you down or starts getting in the way of everyday life.
That tight, stiff, “everything hurts a little” feeling you have going on?!
It’s a sign to stop, listen to your body and take action to feel better!
That’s where foam rolling comes in!
Huh?! Foam rolling?!
It might look simple (and even awkward), but foam rolling is one of the most powerful and underused tools to help your body move better, feel better and recover faster!
When done properly and consistently, it relieves tight muscles, improves mobility and helps your body bounce back whether you’ve been sitting all day or exercising regularly.
If you’re new to foam rolling, think you don’t have time or unsure how to start, this blog’s all about building a simple and effective foam rolling routine in under 5 minutes so that you feel your best!
In this blog, you’re learnng all about foam rolling:
- How to foam roll to reduce soreness, improve mobility and move better day-to-day!
- Tips to get started at home!
- 3 Mistakes to avoid that slows recovery and make you feel worse!
INTRO TO FOAM ROLLING
A foam roller is like a giant rolling pin for your muscles, and it comes in different shapes and densities depending on how much pressure you need.
So what’s actually happens when you foam roll?
Foam rolling is essentially a chepaer, DIY version of a massage. It’s controlled pressure to your muscles and surroudning tissue to help your body:
- Get more blood flow to tight, overworked areas.
- Reduce that stiff, “locked up” feeling.
- Improve how your muscles stretch and move.
Over time, this leads to big, noticeable changes in how you feel and move:
- You move with more ease and less restriction-YAY!
- You feel less sore after workouts (or long days of sitting).
- Your body works with you, not against you.
- You’re less likely to tweak something doing everyday activities.
So how does this all work?
At the core of foam rolling is something called myofascial release but don’t let the fancy name throw you off. Think of it like this:
Iinside your body, there’s a thin, web-like layer (called fascia) that wraps around your muscles, joints, and everything in between. When it’s healthy, you move freely and feel good!
But when you sit too much, move too little, repeat the same motions, or push hard in workouts without recovery, that tissue starts to tightens up and becomes stuck.
That’s when you start noticing stiff hips when you stand up, tight shoulders that don’t move well and that constant achy, sore feeling that just won’t go away.
Foam rolling helps you undo all of that!
By applying pressure to specific areas, you’re breaking up knots, improving blood flow and helping your body move the way it’s supposed to again.
And this isn’t just for athletes. If you sit at a desk, chase kids around, feel stiff getting out of your car, or deal with soreness from exercise, this is absolutely for you!
Because when your body moves better, everything feels better: picking up the kids, pushing the grocery cart, mowing the yard, weeding your garden, etc.
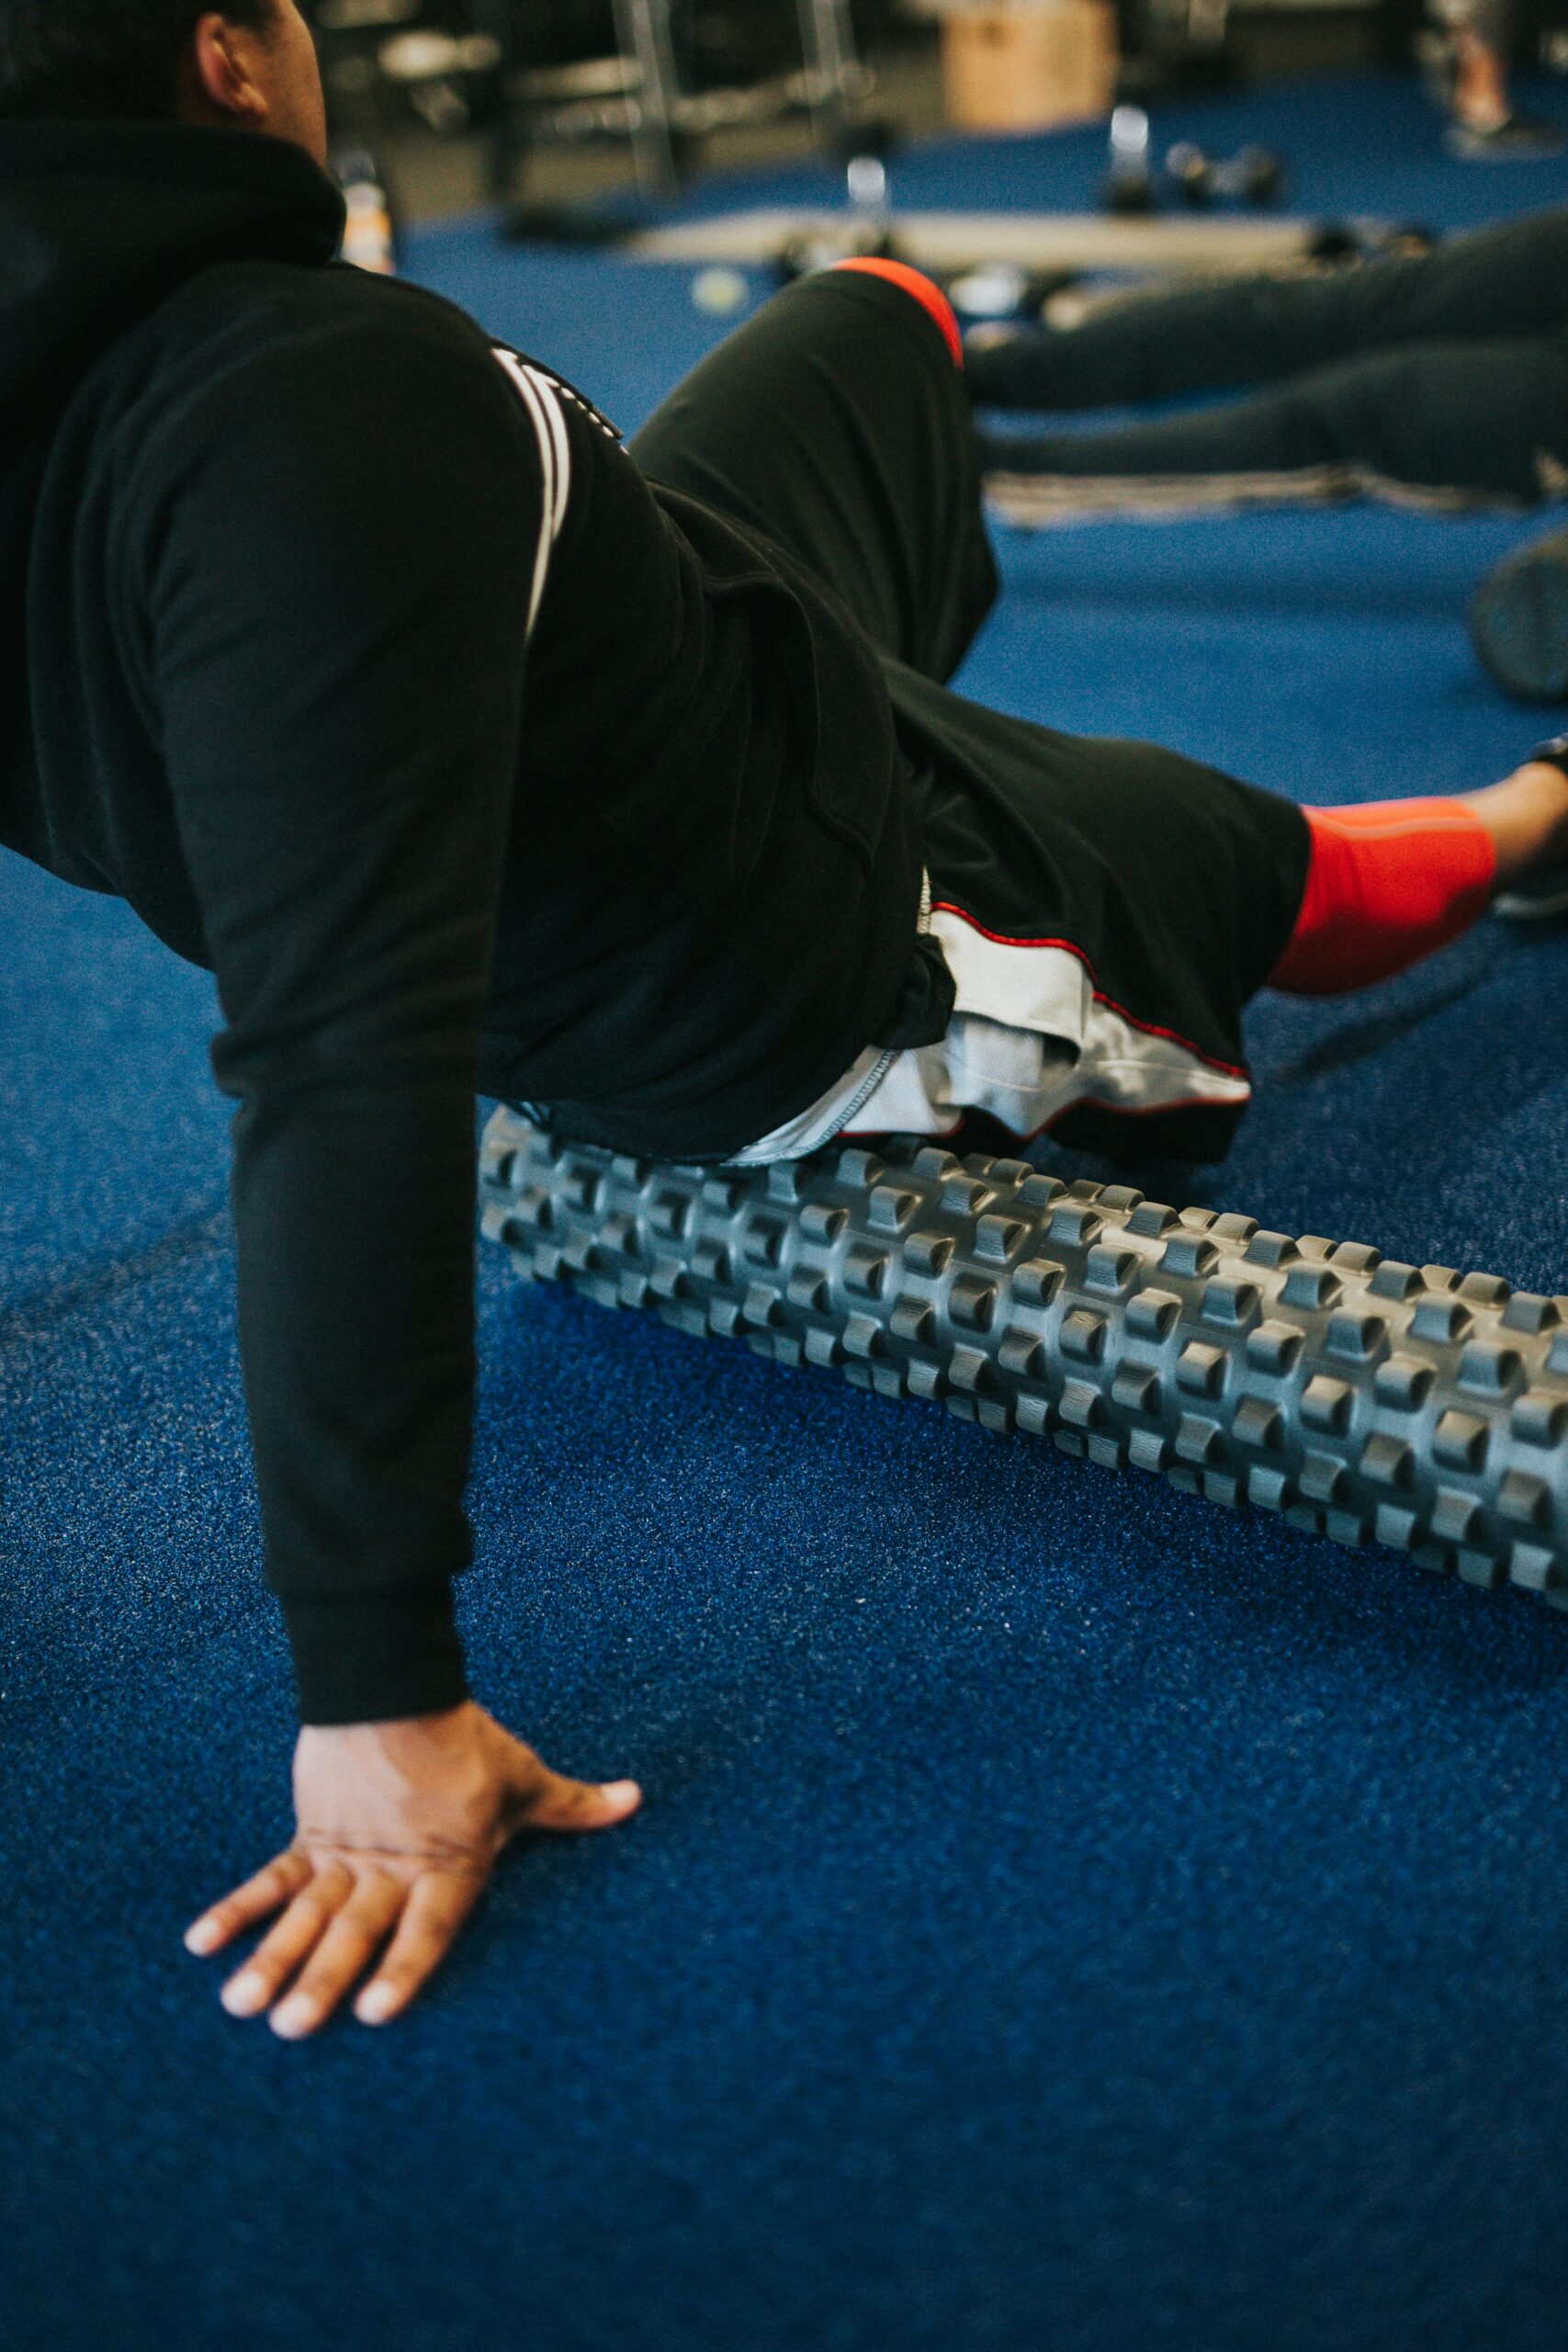
WHAT TO FOAM ROLL
Here are the five most commonly foam rolled muscles groups to focus on:
1. Upper Back (Thoracic Spine): If you sit a lot, this is a game changer. This helps open up your posture and reduce that rounded, tight feeling in your shoulders and neck for improved upper body mobility.
- Lie on your back with a foam roller placed across your upper back.
- Support your head with your hands and gently lift your hips.
- Slowly roll from the middle of your back up toward your shoulders.
- Focus on controlled movement and avoid arching excessively.
2. Upper Sides (Lats):Rolling your lats can improve shoulder mobility and reduce tightness.
- Lie on your side with the foam roller under your armpit area.
- Extend your arm overhead and slowly roll down along the side of your torso. This area can be tender, so go slowly.
3. Back of Your Legs (Hamstrings): Great for reducing stiffness from sitting or after walking, running or exercising.
- Sit on the floor with the foam roller under your thighs.
- Use your hands to support your weight and roll from just above the knees up toward your glutes.
- For more intensity, cross one leg over the other to focus on a single hamstring at a time.
4. Front of Your Legs (Quads): This is especially helpful after running, squatting or cycling.
- Lie face down with the foam roller under your thighs.
- Support yourself on your forearms and roll from your hips down to just above your knees.
- Keep your core engaged to protect your lower back.
5. Outer Legs (Around the IT Band): Relieves tension in the surrounding muscles (glutes and outer quads) that get tight from sitting or repetitive exercise. Reducing that tension improves how your hips and knees move, which can decrease stiffness, discomfort and risk of injury.
- Lie on your side and position the roller slightly forward or backward from the IT band.
- Do NOT roll directly on the IT band (which can be sensitive), focus on the surrounding muscles like outer quads and glutes
- Slowly roll up the foam roller than down.
- While sitting on the roller, create a figure four position by placing one foot on the floor and crossing the opposite ankle over that knee.
- Slowly roll back and forth on the foam roller, pausing/hovering over tender spots while breathing.
- Switch legs and repeat on the other side.
TIPS TO GET STARTED:
If you’re thinking, “Okay…this all sounds great, but what do I actually do?” here’s how to build a foam rolling routine in under 5 mintues:
- Pick 2–3 areas that feel the tightest.
- Spend 30–60 seconds per area.
- Move slowly and pause on tight spots.
- Breathe (don’t hold your breath!)
- Foam roll daily if you’re stiff or sit a lot (even 5 minutes helps)
- Before workouts to loosen up tight areas
- After workouts to help recovery
Even if you’re not currently exercising, foam rolling is still one of the best things you can do to feel better in your body!
Important to note that foam rolling is NOT about rolling as hard and fast as possible.
If you’re grimacing, holding your breath and trying to “crush” your muscles, you’re doing too much. Fous on slow, controlled movement while pausing briefly on tight spots and breathing.
When you relax into the pressure, your muscles actually let go and that’s where the real benefit happens!
Bonus: While foam rollers are the most common tool, here are other tools you can use depending on your needs:
- Lacrosse Balls: Perfect for targeting smaller, hard-to-reach areas like the glutes, shoulders, or feet. They allow for more precise, pinpoint pressure.
- Massage Balls (or Therapy Balls): Like lacrosse balls but often come in sets with varying firmness levels.
- Massage Sticks/Rollers: Handheld tools that allow you to control pressure more easily, especially for areas like the calves and quads.
- Thera Gun: Handheld tool that is like a massage on steroids. Using high frequency pulses, a Thera Gun is more intense with various attachments to better target a variety of muscles.
IF you’re a Results Fitness Warrior, you’ve got all these tools and more – everything you need – right here at the gym. That’s why we always encourage you to show up a few minutes early to foam roll or use other recovery tools.
WHAT TO AVOID
Foam rolling is incredibly helpful but like anything, there’s a right way to do it. There are three areas to avoid so you don’t do more harm than good:
1. Lower Back: The lumbar spine is not designed to handle direct pressure from a foam roller. Rolling this area can place stress on your vertebrae and surrounding structures, potentially leading to pain or injury.
2. Neck: Delicate and contains many important nerves and blood vessels. Using a foam roller here can be risky and should be avoided unless guided by a professional.
3. Tendons and Ligaments: Foam rolling is intended for muscle tissue, not connective structures like tendons and ligaments. Applying pressure directly to these areas can cause irritation rather than relief.
When foam rolling, the key is focusing on large muscle groups and using proper technique. If something feels sharp or painful (not just uncomfortable), it’s best to stop and adjust your approach.
Foam rolling is simple, but effective!
A few minutes a day can reduce tightness, improve movement and help your body feel better, whether you exercise or not. Consistency is what matters most and if you’re not sure where to start, BOOK A FREE CALL with our team so that we can help you build a simple plan that works for you whether at home or at the gym with us!